
Last updated November 14, 2026
 Sweep & inspection
 Caps & crowns
 Flue relining
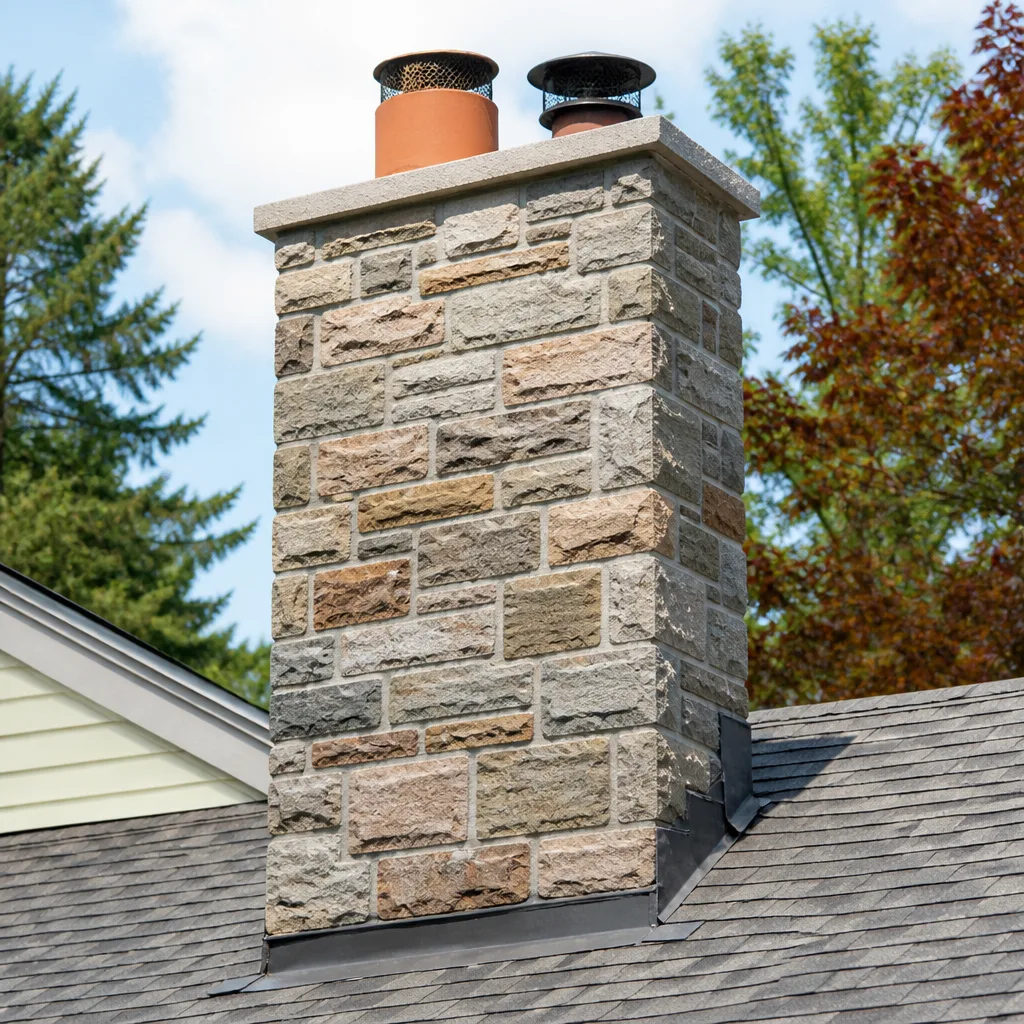 Masonry repair
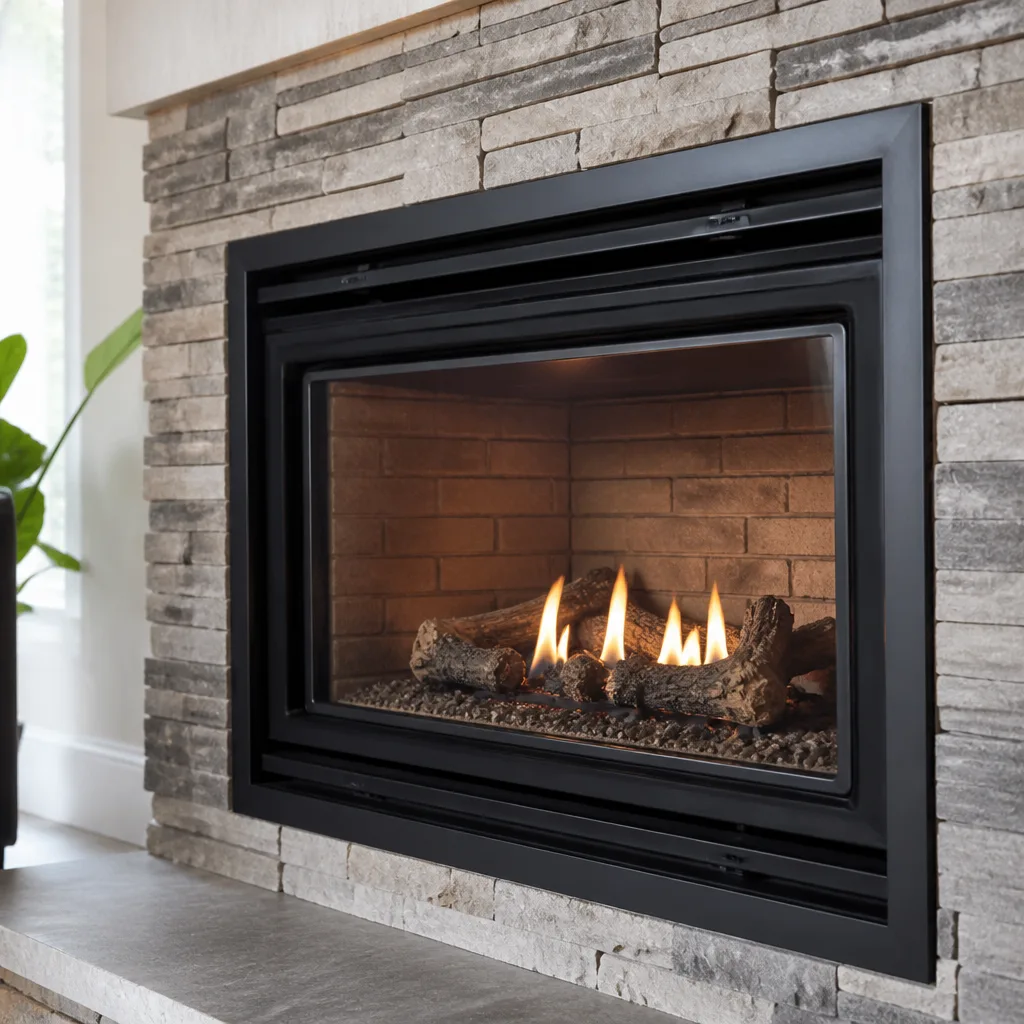 Gas fireplace service
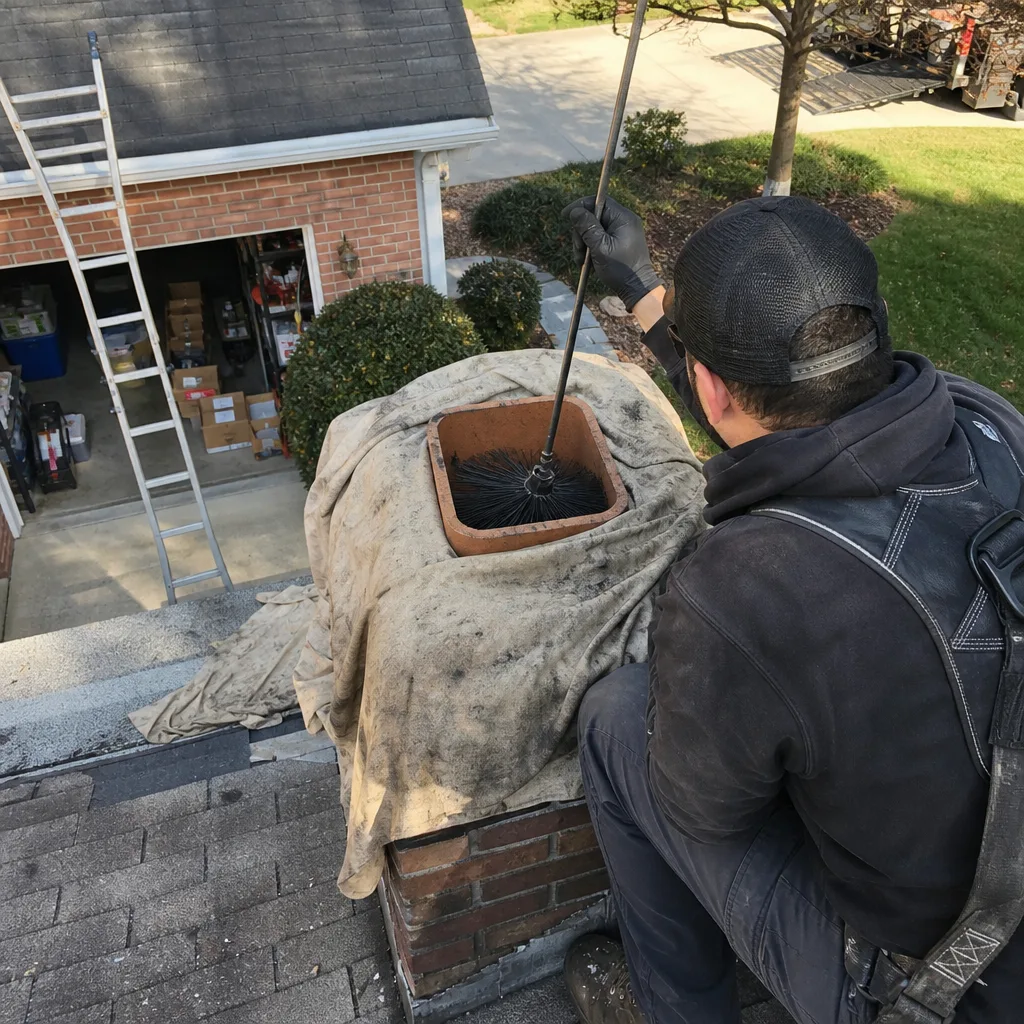
Level 1 sweep and inspection to the NFPA 211 annual standard - flue, crown, cap, and flashing checked and photographed
Chimney sweep logs do not sweep chimneys. They loosen some creosote - which then falls where a brush and vacuum still have to collect it.
Chimney Sweep Maintenance Checklist for Charlotte Homeowners
Most chimney maintenance checklists you’ll find online are written as if every homeowner owns a camera, a moisture meter, and a ladder long enough to reach the crown. They aren’t. Here’s the part that gets buried: there are exactly three things you can check from the firebox with nothing more than a flashlight, and those three are genuinely diagnostic. The rest of a twenty-item checklist usually needs professional tools to mean anything at all. This guide splits the work cleanly into what you can observe yourself and what belongs to a trained technician, and it ties both to Charlotte’s own calendar, where humid summers and a long burn season put a specific kind of wear on masonry.
Quick Answer
A useful chimney maintenance checklist for a Charlotte homeowner has two columns: things you can see from the firebox with a flashlight (damper condition, smoke shelf debris, mortar at the throat) and things only a professional can assess with a camera and instruments (flue interior, liner integrity, crown and cap, creosote thickness). Check the homeowner items in September before your first fire and again in April after the season ends, book a professional inspection annually, and log every finding by date so you can spot deterioration over several years instead of discovering it all at once.
Styles & brands we work with
- Sweep & inspection
- Caps & crowns
- Flue relining
- Masonry repair
- Gas fireplace service
Table of Contents
- The Two-Column Rule: What You Can Check vs. What a Pro Checks
- Three Things You Can See From the Firebox With a Flashlight
- Your September Checklist: Before the First Fire
- Your April Checklist: After the Season Ends
- How to Log Findings Year Over Year
- The Professional-Only Column, Item by Item
- Which Findings Mean Stop Using the Fireplace
- The Other Fire Hazard on Your Checklist: Dryer Vents
The Two-Column Rule: What You Can Check vs. What a Pro Checks
The reason most checklists fail is that they mix a homeowner’s five-minute look with a technician’s hour-long inspection and present them as one list. That’s how people end up either skipping everything because it feels overwhelming, or worse, poking at components they shouldn’t touch and assuming everything is fine afterward.
Divide it in two and the picture gets clearer.
Column one, homeowner-observable. Anything visible from the firebox opening with a flashlight, without moving parts or climbing. That includes the damper plate, the smoke shelf just above and behind it, the mortar joints where the firebox meets the throat, and whether the firebrick faces look intact. These are the early-warning items. They’re the cheapest information you’ll ever get about your chimney, and you can gather it in five minutes.
Column two, professional-only. Anything that needs a camera run down the flue, a moisture reading, roof access, or a trained eye at close range: creosote thickness inside the flue, liner condition, the crown at the top of the stack, the cap and spark screen, and whether the flashing where the chimney meets the roof has separated. This column also covers the hidden passages of the smoke chamber, which you can’t meaningfully see from below.
One more point about the second column. It’s not just a matter of tools. Reading what a camera shows takes experience, because plenty of old chimneys in Charlotte‘s older neighborhoods look rough inside and are still serviceable. Knowing which findings can wait and which can’t is the real skill, and it’s why we show customers the camera footage rather than just describing it.
Three Things You Can See From the Firebox With a Flashlight
Open the damper, shine a light up into the firebox, and take your time. These three observations are worth more than any twenty-point list that requires a ladder.
- The damper plate. Look at the metal plate itself, not just whether it opens. Rust flaking off in sheets, a plate that no longer seats flat, or a pivot that grinds and sticks are all signs moisture has been sitting against the metal. A damper that closes badly lets heated room air escape up the flue all winter and lets humid summer air drift down into the firebox, which feeds the corrosion.
- The smoke shelf. The smoke shelf is the flat ledge just above and behind the damper. Shine the light back there and look for debris: fallen mortar, bits of creosote, twigs or nesting material. A loaded smoke shelf changes how smoke moves through the firebox, and it’s one of the few things on this list a homeowner can clearly identify without training. What you shouldn’t do is reach up and start pulling material out, especially if it’s dark, glassy or crusted. That’s a professional’s job.
- Mortar joints at the throat. The throat is the narrowing just above the firebox where it transitions to the flue. Look at the mortar lines here for crumbling, receded joints, or joints where you can see gaps between the bricks. This area takes heat directly and repeatedly. Cracking here is one of the earliest visible signs of deterioration, and catching it early is the whole point of a checklist.
Add one free observation while you’re there: whether the firebrick faces are intact or spalled. If brick faces are flaking away, note it and move on. Don’t chip at them.
These are the three that matter. Everything else you’ll read on a typical checklist involves either climbing, a camera, or a judgment call you’re not in a position to make.
Your September Checklist: Before the First Fire
September is the right month in Charlotte because it sits before the burn season but after months of summer humidity. Those humid months do real work on masonry, and you want to see the results of that summer before you light the first fire, not after.
- Flashlight check from the firebox. Damper plate, smoke shelf, mortar at the throat. Note anything new compared to last year’s entry.
- Look for moisture signs. Rust on the damper or firebox hardware, staining on the firebox walls, or a musty smell in the firebox after a stretch of dry weather all point to water getting in somewhere above. Water entry usually traces back to the crown, cap, or flashing at the roofline, which is the professional column.
- Confirm the damper opens and seats fully. Move it gently by hand. If it sticks hard, stop forcing it. That’s a note, not a project.
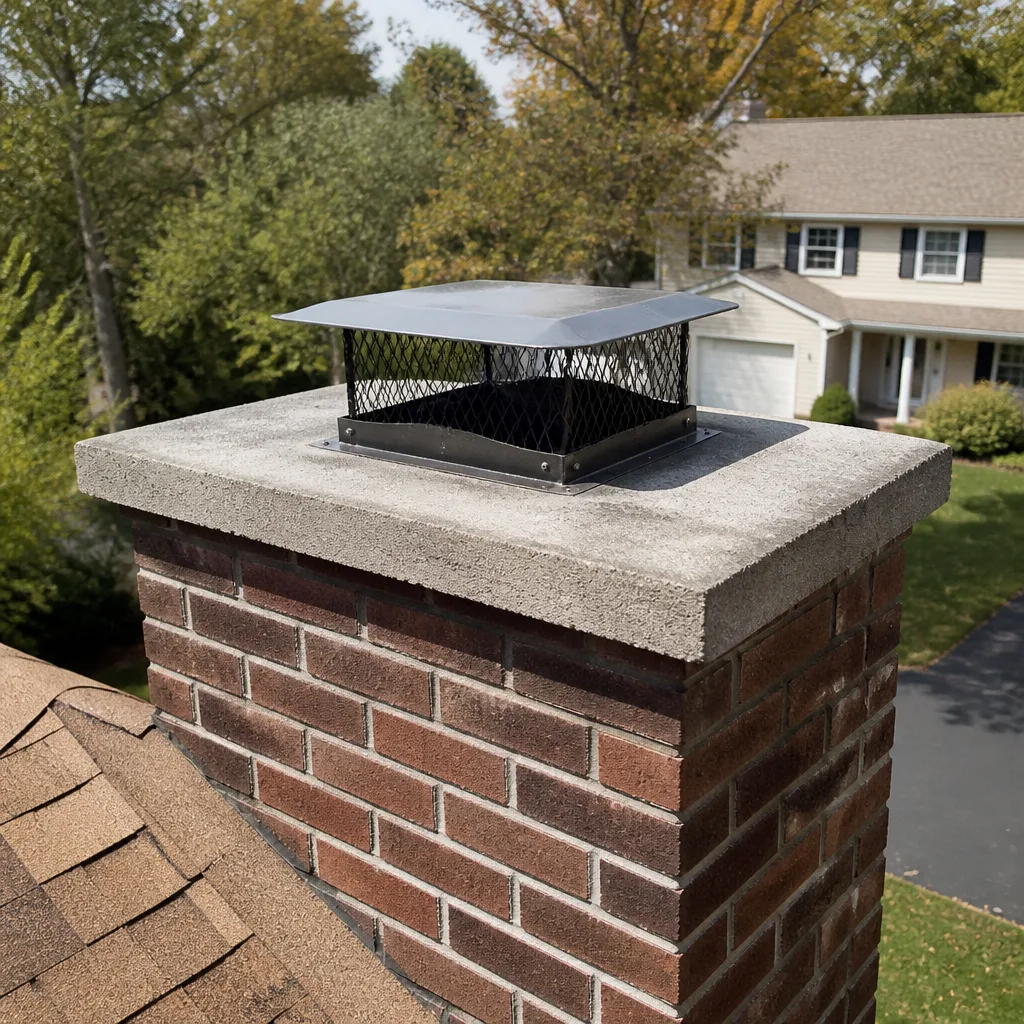
- Check that the cap and screen are still in place from the ground with binoculars. A missing cap is a common way birds and debris get in.
- Book your professional inspection and sweep before your first fire, not in the middle of the season when everyone else calls. September and early October are when we’re busiest, so getting the appointment on the calendar early is practical advice, not a sales pitch.
- Do a smoke alarm check on every level including the rooms near the fireplace, and confirm carbon monoxide alarms work. These are cheap and they’re the last line of defense.
Keep the burn-season habit simple: burn dry, seasoned wood, and never leave a fire unattended. Wet wood produces more creosote, and creosote is what catches fire in the flue. That’s the entire reason the checklist exists.
If you want the cleaning step handled by one team that can also assess what they find, you can schedule a chimney sweep before the season starts and get it out of the way.
Your April Checklist: After the Season Ends
Spring matters because you’re about to close the damper for months. Whatever is sitting in the firebox or on the smoke shelf in April sits there all summer, right through Charlotte’s humid months. Spring cleaning here is about depriving moisture and pests of an easy place to work.
- Repeat the firebox flashlight check. April’s version is specifically about the winter’s wear: did the throat mortar that looked tight in September now show a hairline crack?
- Clear the firebox of ash. Leave a thin bed if you like, but not a deep pile. Ash holds moisture against the firebox floor.
- Check the damper for winter rust. Corrosion often shows up after the burn season, not before it, because of condensation cycling.
- Look up at the ceiling and the wall above the firebox for any staining or discoloration you didn’t see in the fall. This is a homeowner-observable item and it’s worth knowing about.
- Note the state of the smoke shelf and whether debris has accumulated since the fall inspection.
- Book the annual professional inspection if you haven’t. A spring inspection gives you the whole summer to plan for anything that needs repair before next fall.
April is also when you can spot progressive deterioration cleanly, because you’re comparing against a September entry in the same year. Two dated observations a year, side by side, tell you far more than one look ever will.
How to Log Findings Year Over Year
A checklist you don’t write down is just a look. The value shows up in year three, when you can see that the mortar joint at the throat has been receding a little each season.
Keep it simple. A notebook on the shelf next to the firebox, or a note on your phone, works fine. Every entry needs four things: the date, which item you checked, what you observed, and whether it’s new or unchanged. Nothing more elaborate is required.
Here’s what to watch for in the log:
- A repeat finding that worsens. Hairline crack in September, wider in April, wider still next September. That’s progression, and progression is what turns into structural work.
- A finding that stays the same for years. Plenty of old chimneys have a stable quirk that never changes. A log tells you it’s stable, which is genuinely useful information when someone later suggests major work.
- Seasonal patterns. If you consistently see rust after the summer but not after winter, your moisture problem is about damp air, not about the fire.
- Debris reappearing on the smoke shelf. That’s a clue about the cap or the crown above, and it’s a professional-column follow-up.
We’ve been doing this work in Charlotte since 2018, and the customers who get the fewest surprises are the ones who hand us a log with a few seasons in it. It makes the inspection faster and the conversation shorter, because we’re both looking at the same record.
The Professional-Only Column, Item by Item
Here’s what belongs to a trained technician with a camera and instruments, and why each one can’t be responsibly self-assessed.
- Creosote thickness inside the flue. Creosote builds in layers you can’t see from below. The camera shows how much and what kind, which determines whether a standard sweep is enough or whether the deposit needs more. This is the single most important fire-safety item in the inspection.
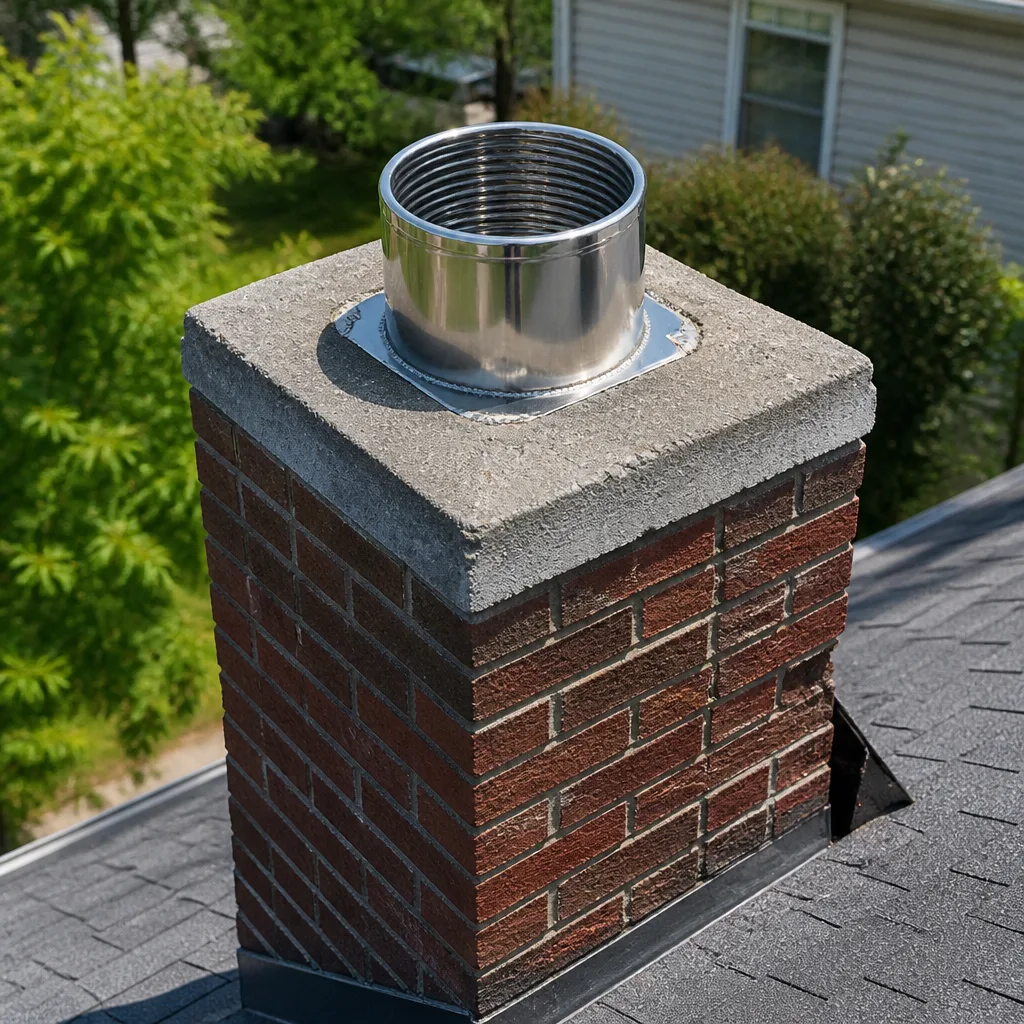
- Liner integrity. The flue liner keeps heat and combustion gases inside the chimney and away from the framing of the house. Cracks, gaps, or missing sections are not visible without a camera, and they’re the reason a chimney can look fine and still be unsafe.
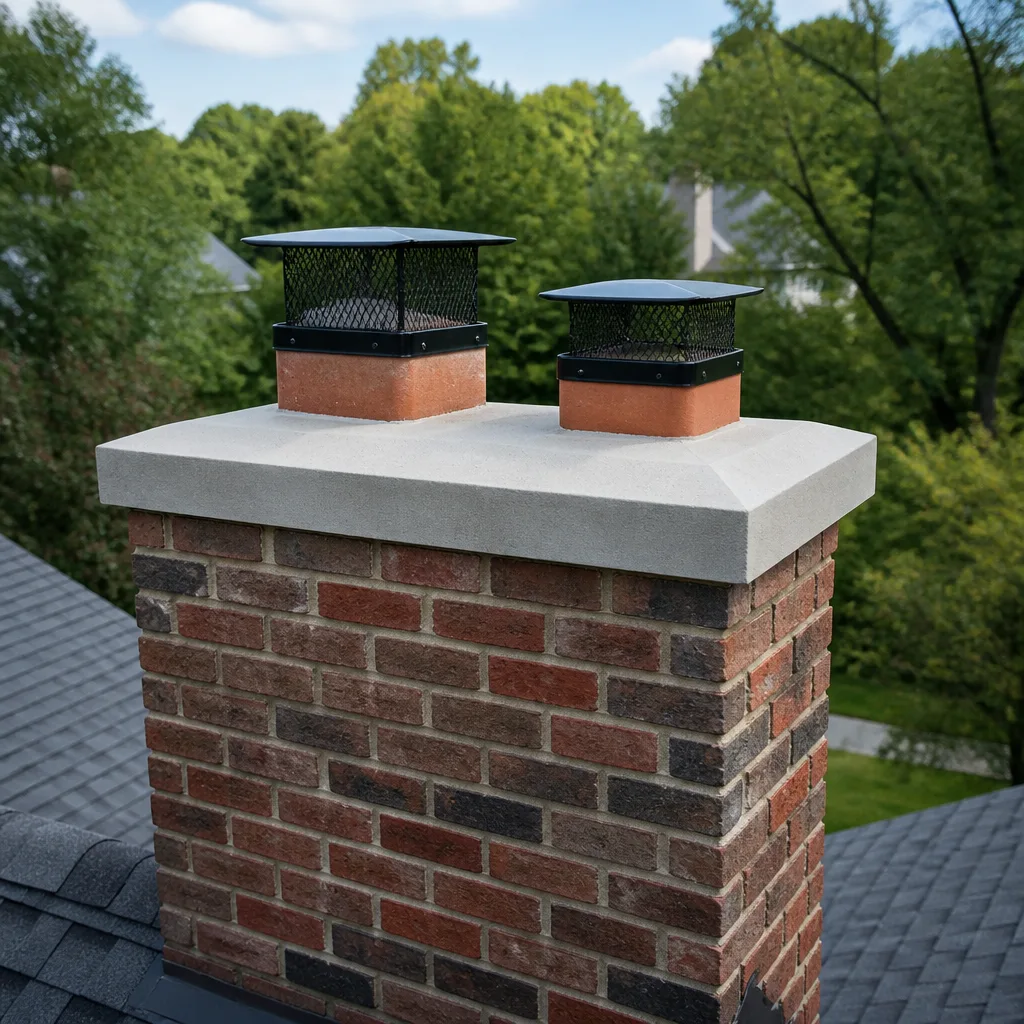
- The crown and cap at the top of the stack. The crown is the concrete top surface that sheds water away from the masonry. A cracked crown lets water into the chimney body, which shows up months later as rust and crumbling mortar far below.
- Flashing where the chimney meets the roof. This is a common water entry point and requires roof access to judge.
- Mortar joints throughout the stack. You can see the ones at the throat. The rest need close range from the roof and along the stack.
- The smoke chamber. The sloped space above the damper and below the flue. It’s the hardest part of the system to see and it collects creosote in a way that matters for safety.
- Draft performance. Whether the chimney pulls properly involves measuring, not guessing.
When that inspection finds failing mortar joints that need resurfacing rather than replacement, we can address it in place using HeatShield, which is a professional-grade resurfacing system. We also work with Olympia Chimney products for liner and venting components. The point of naming these is simple: professional-grade materials, not big-box substitutes, and one company capable of cleaning and repairing instead of handing you off to a separate mason.
Which Findings Mean Stop Using the Fireplace
Most findings can be scheduled and planned. A short list means stop.
Stop using the fireplace, and don’t light another fire, if any of these are true:
- The damper will not open, or it’s stuck in a partly closed position. Smoke has nowhere to go.
- You can see a crack or gap in the firebox wall that goes beyond the surface, or firebrick is missing.
- Mortar at the throat has crumbled to the point that you can see gaps between bricks with daylight visible.
- You see heavy, puffy, or glazed creosote at any point you can see. This is a real fire hazard, and creosote fires can spread into the structure of the house.
- You notice staining or discoloration on walls or ceiling near the chimney, which can indicate heat or moisture moving where it shouldn’t.
- Your carbon monoxide alarm sounds when the fireplace or a gas appliance is running. Leave, ventilate, and call for help. Carbon monoxide is odorless and the alarm is there for a reason.
One thing to be clear about on the safety side: damaged liners, cracked crowns, and heavy creosote are not do-it-yourself repairs, and neither is work at the top of the stack. Height and heat make these jobs genuinely dangerous. That’s why they belong to the professional column, not because it’s complicated to explain, but because doing it wrong can hurt someone. If any of the stop items above apply, we’d rather you call than test it.
A general note on code: many repairs to a chimney system, particularly liner replacement, fall under local permitting rules. We won’t guess at what your situation requires without checking with your city’s building department, and neither should anyone else telling you the work is mandatory.
The Other Fire Hazard on Your Checklist: Dryer Vents
Here’s the part most chimney checklists leave out entirely: your dryer vent is the other leading home fire risk in the same house, and it’s just as easy to neglect. Lint accumulates in the duct run, and a clogged vent restricts airflow, which lets heat build up in the dryer and the duct. That’s a fire-safety issue, not a laundry issue.
The homeowner-observable signs are worth checking on the same schedule as your chimney:
- Clothes take noticeably longer to dry than they used to.
- The dryer feels hot to the touch on top or at the back.
- The exterior vent flap doesn’t open fully or stays open when the dryer is off.
- You find lint accumulating behind the dryer or around the outside vent hood.
- The laundry room feels more humid than it should during a cycle.
What you shouldn’t do yourself is open the duct run or disassemble the vent to clean it, especially on a long or multi-story run. Reassembly done wrong is its own safety problem. Our dryer vent cleaning uses Famco-compatible components, so the work is done with professional parts rather than improvised ones. One call covers your chimney and your dryer vent, and both are built around fire-hazard prevention rather than checking a box.
Common Mistakes to Avoid
- Treating an online twenty-point list as something you’re meant to complete yourself. Most of those items need tools and training to assess honestly. Doing half the list and calling it done is worse than doing the right three items and booking the inspection.
- Assuming that a clean-looking firebox means a safe chimney. The liner and the interior of the flue are where the actual hazards live, and they’re invisible from below. Only a camera changes that.
- Burning unseasoned or wet wood through a Charlotte winter. Wet wood produces more creosote, and creosote is what catches fire. Dry, seasoned wood is the cheapest safety measure available.
- Skipping the annual inspection because you burned less this year. A light season still leaves creosote, and a season of summer humidity still does its work on the masonry. The inspection is about condition, not volume.
- Never recording anything. Without a log, a joint that’s been crumbling slowly for three years looks like it appeared overnight, and you can’t tell progression from a stable quirk.
- Hiring a sweep who cleans but can’t assess or repair. If damage turns up and you have to start over with a separate contractor, you’ve added a second opinion, a second appointment, and a gap where nothing got fixed. A single company handling inspection, cleaning, and repair closes that gap.
- Ignoring the dryer vent because the chimney got all the attention. Both are fire hazards, and both belong on the same annual checklist.
- Poking at or forcing a stuck damper, or trying to pull debris off the smoke shelf yourself. A bent damper or a shower of old creosote creates a worse problem than the one you were investigating. Note it and let a technician handle it.
See the difference
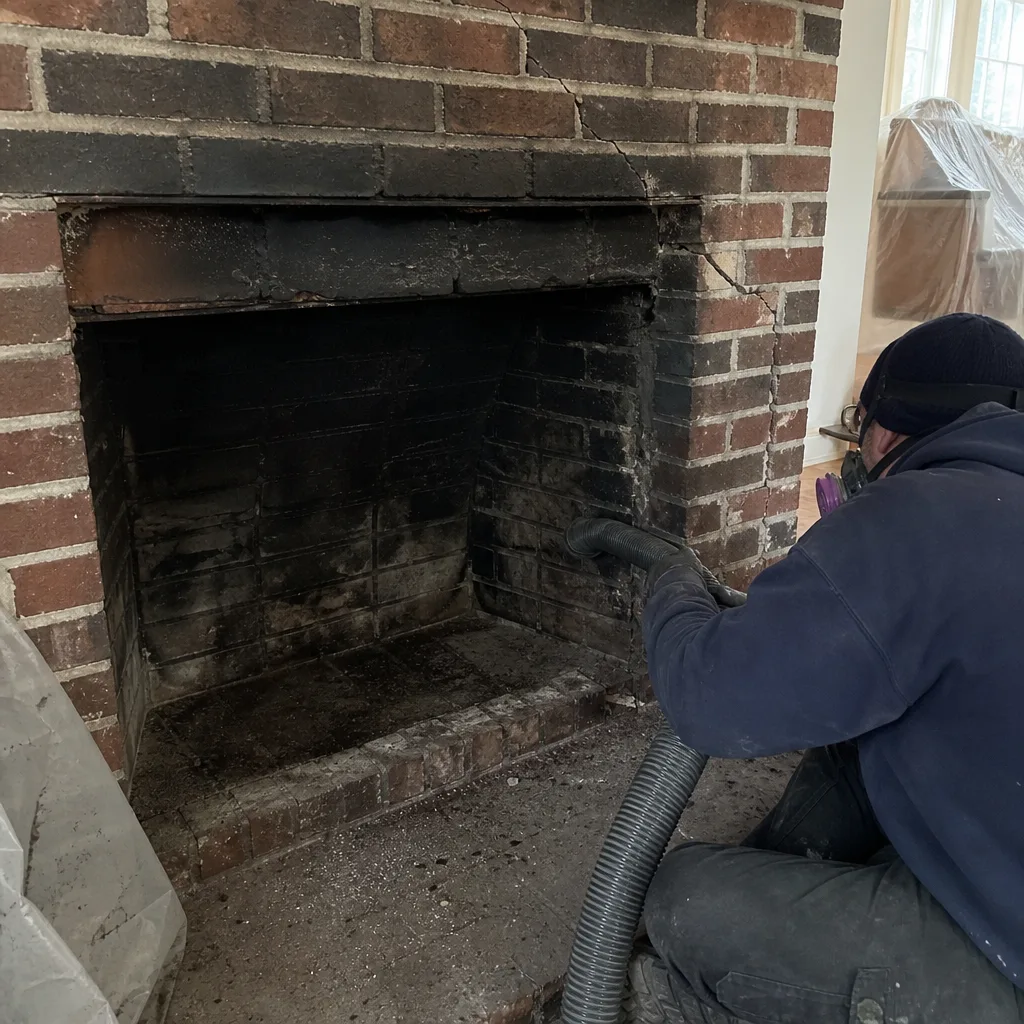 Before
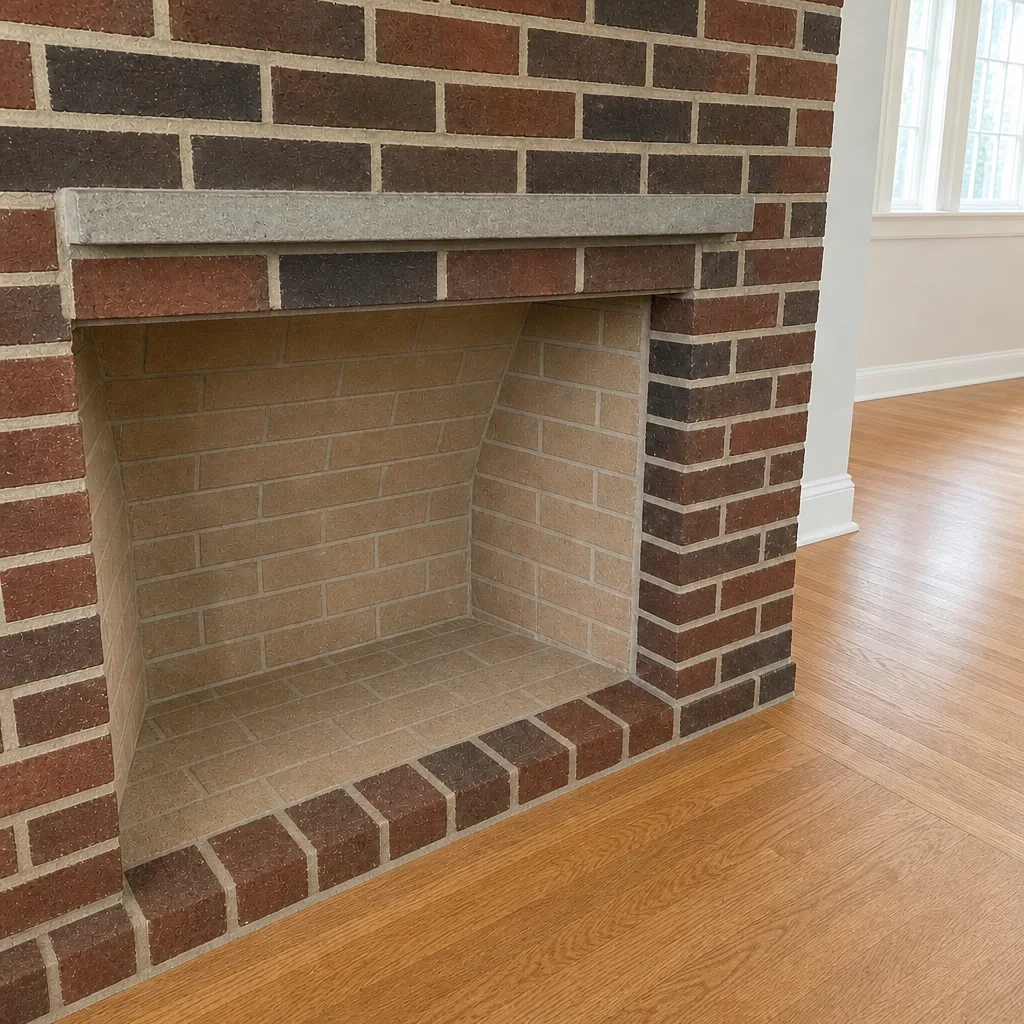 After
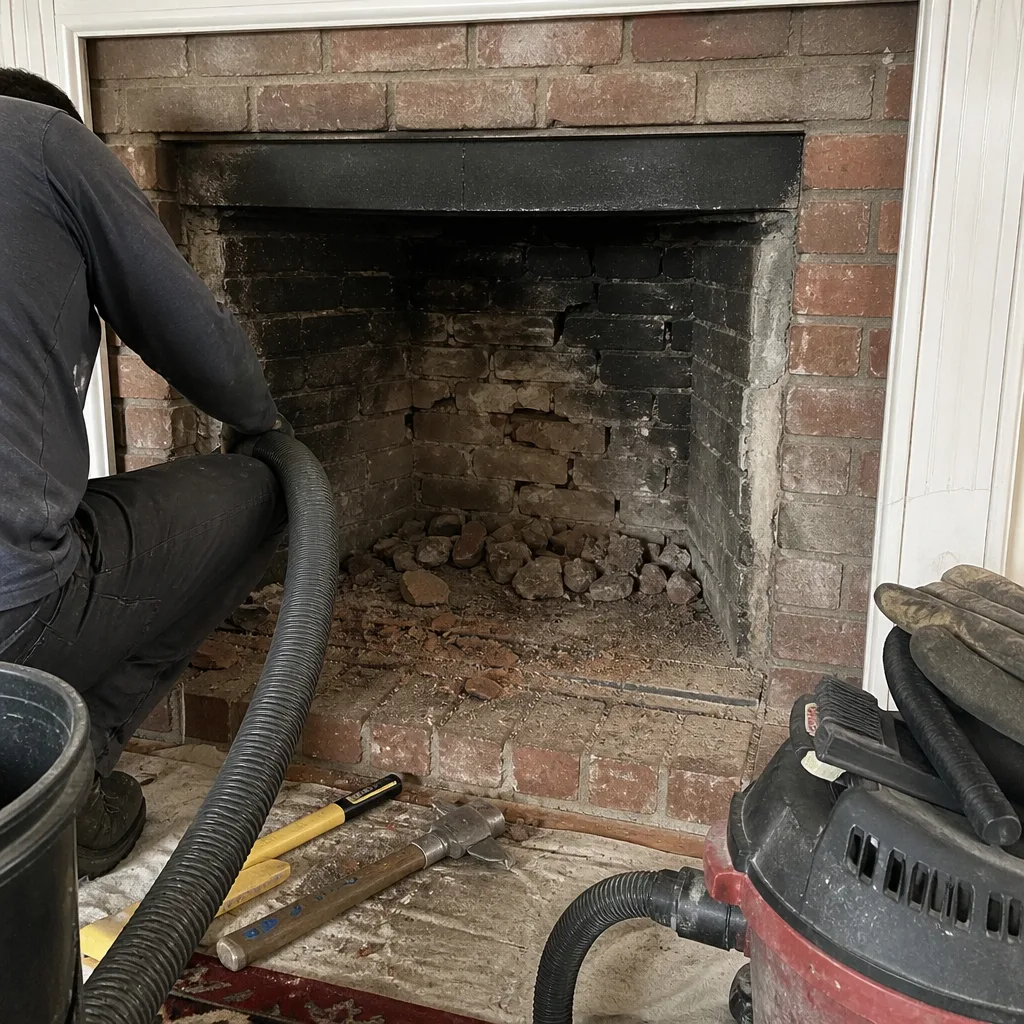 Before
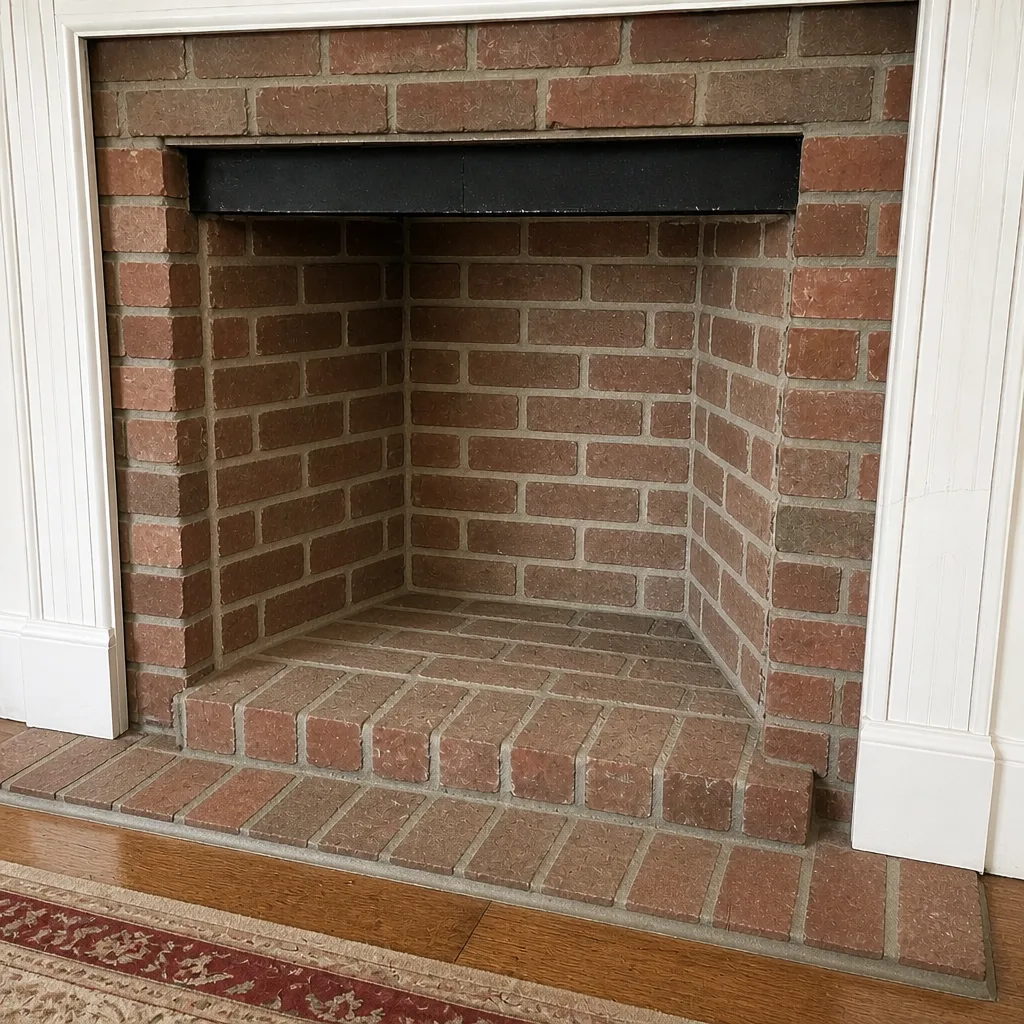 After
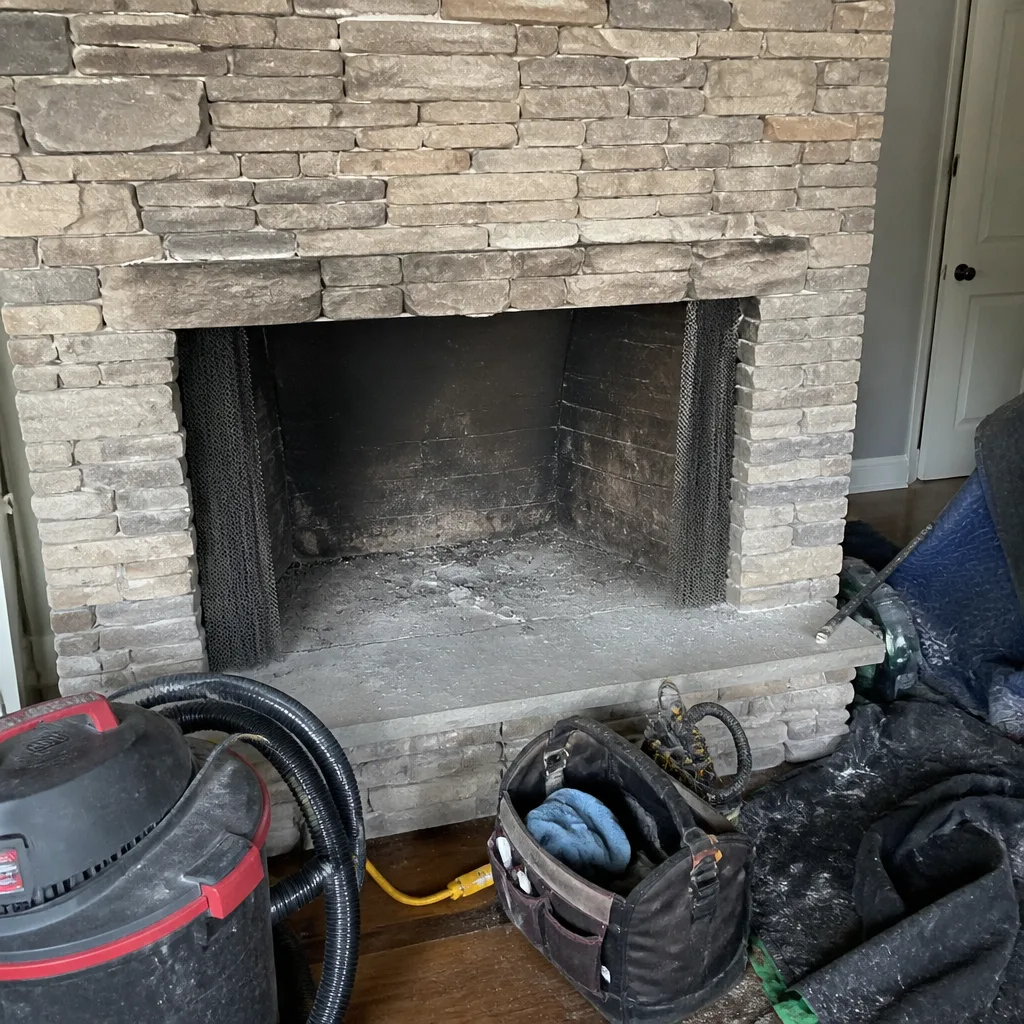 Before
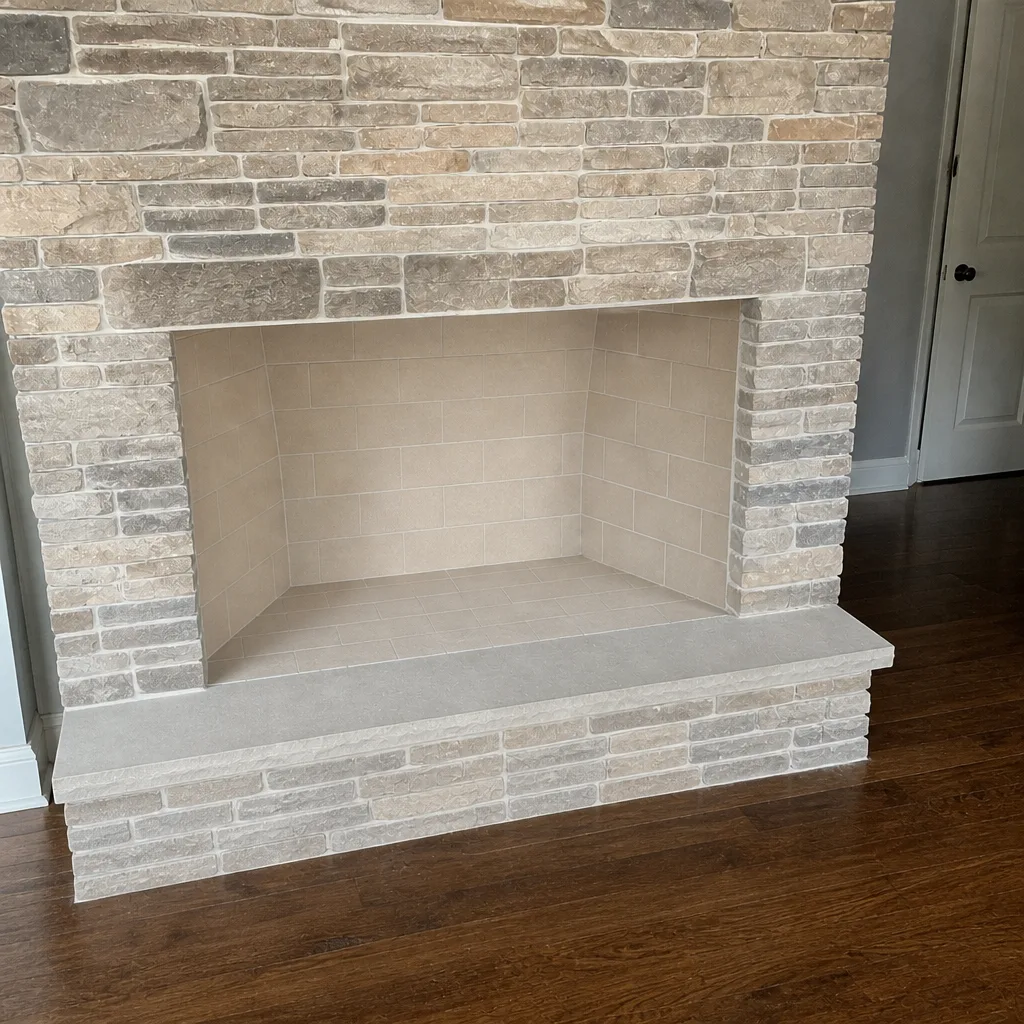 After
When to Call a Professional
Call for the annual inspection even when nothing looks wrong, because that’s the appointment that catches what you can’t see. Call sooner if any of the stop items above apply, or if you notice rust on the damper, debris persistently reappearing on the smoke shelf, cracks widening at the throat, or a moisture smell that persists through dry weather.
Call if you’ve moved into a Charlotte home with an unknown service history. You don’t need to know what the previous owners did or didn’t do; an inspection and a camera run tell you where things stand, and we show you the footage so you can see it yourself. Nothing gets recommended without evidence you can look at, and we’ll tell you plainly when something can safely wait.
Charlotte Chimney Cleaning offers free estimates in Charlotte for chimney sweeping, chimney repair, and dryer vent cleaning. Call (855) 412-0975. We answer 24/7. Fast dispatch from 7am to 7pm, Sunday through Friday. We’re closed Saturday.
If you want to see all three services in one place, start with an overview of Charlotte Chimney Cleaning and what an inspection covers.
Frequently Asked Questions
Three things from the firebox with a flashlight: the damper plate for rust and proper seating, the smoke shelf for debris, and the mortar joints at the throat for cracking. Those are the genuinely diagnostic items you can assess without special tools. Everything else, including the flue interior, liner, crown, and cap, needs a professional camera and roof access to judge. If you check nothing else, check the smoke and carbon monoxide alarms too.
Once a year is the standard. A good rhythm here is a professional inspection before your first fire in September, or in April after the season ends so you have all summer to plan repairs. Twice-a-year homeowner flashlight checks in September and April fill in the gaps between inspections. If you burn heavily through the winter, ask whether your flue warrants a mid-season look.
No. The homeowner items catch early signs, and they’re worth doing, but they can’t see creosote thickness inside the flue, liner cracks, a failing crown, or the smoke chamber. Those are exactly where the fire and carbon monoxide risks sit. A five-minute flashlight check supplements an annual inspection. It doesn’t replace one.
Treating every item as equally actionable. Most online checklists mix homeowner-observable items with tasks that require a camera, moisture readings, or roof access, then imply you can complete the whole thing yourself. In practice, doing the three flashlight items properly and booking the professional part is a far more reliable maintenance habit than half-following a twenty-item list.
Yes. Crown repair and mortar work on the stack involve roof access and heat, and the consequences of doing it wrong are serious. The practical upside of using a company that both cleans and repairs is that a finding doesn’t stall while you find someone else. We use HeatShield for in-place resurfacing of failing mortar joints where it’s appropriate, which means repair without necessarily going to full liner replacement. Call (855) 412-0975 for a free estimate.
Yes. Lint buildup in the duct is a leading home fire risk, and it’s checked on the same annual visit. Signs include clothes taking longer to dry, a hot dryer body, a vent flap that doesn’t fully open, and lint collecting around the exterior hood. Our dryer vent work uses Famco-compatible components, so it’s done with proper parts rather than improvised ones.
Creosote keeps accumulating and mortar keeps slowly deteriorating, and the summer humidity doesn’t stop either. The conservative answer, without a professional inspection, is that you can’t know how your particular chimney has fared. A camera inspection and a photo report resolve it in one appointment. Call (855) 412-0975, and we’ll show you what we find.
The Bottom Line
A checklist works when it’s honest about who checks what. Your job is the flashlight: damper, smoke shelf, throat mortar, in September and again in April, written down with a date. Our job is the camera and the roof: creosote, liner, crown, cap, flashing, and the rest of the stack. Keep the log, book the annual inspection, and treat your dryer vent as the same class of fire hazard as your flue. That’s the whole regime, and it’s less work than a typical twenty-item list. If you’d like it handled by one crew in Charlotte this year, call (855) 412-0975 for a free estimate.
Written by the team at Charlotte Chimney Cleaning, serving Charlotte since 2018.